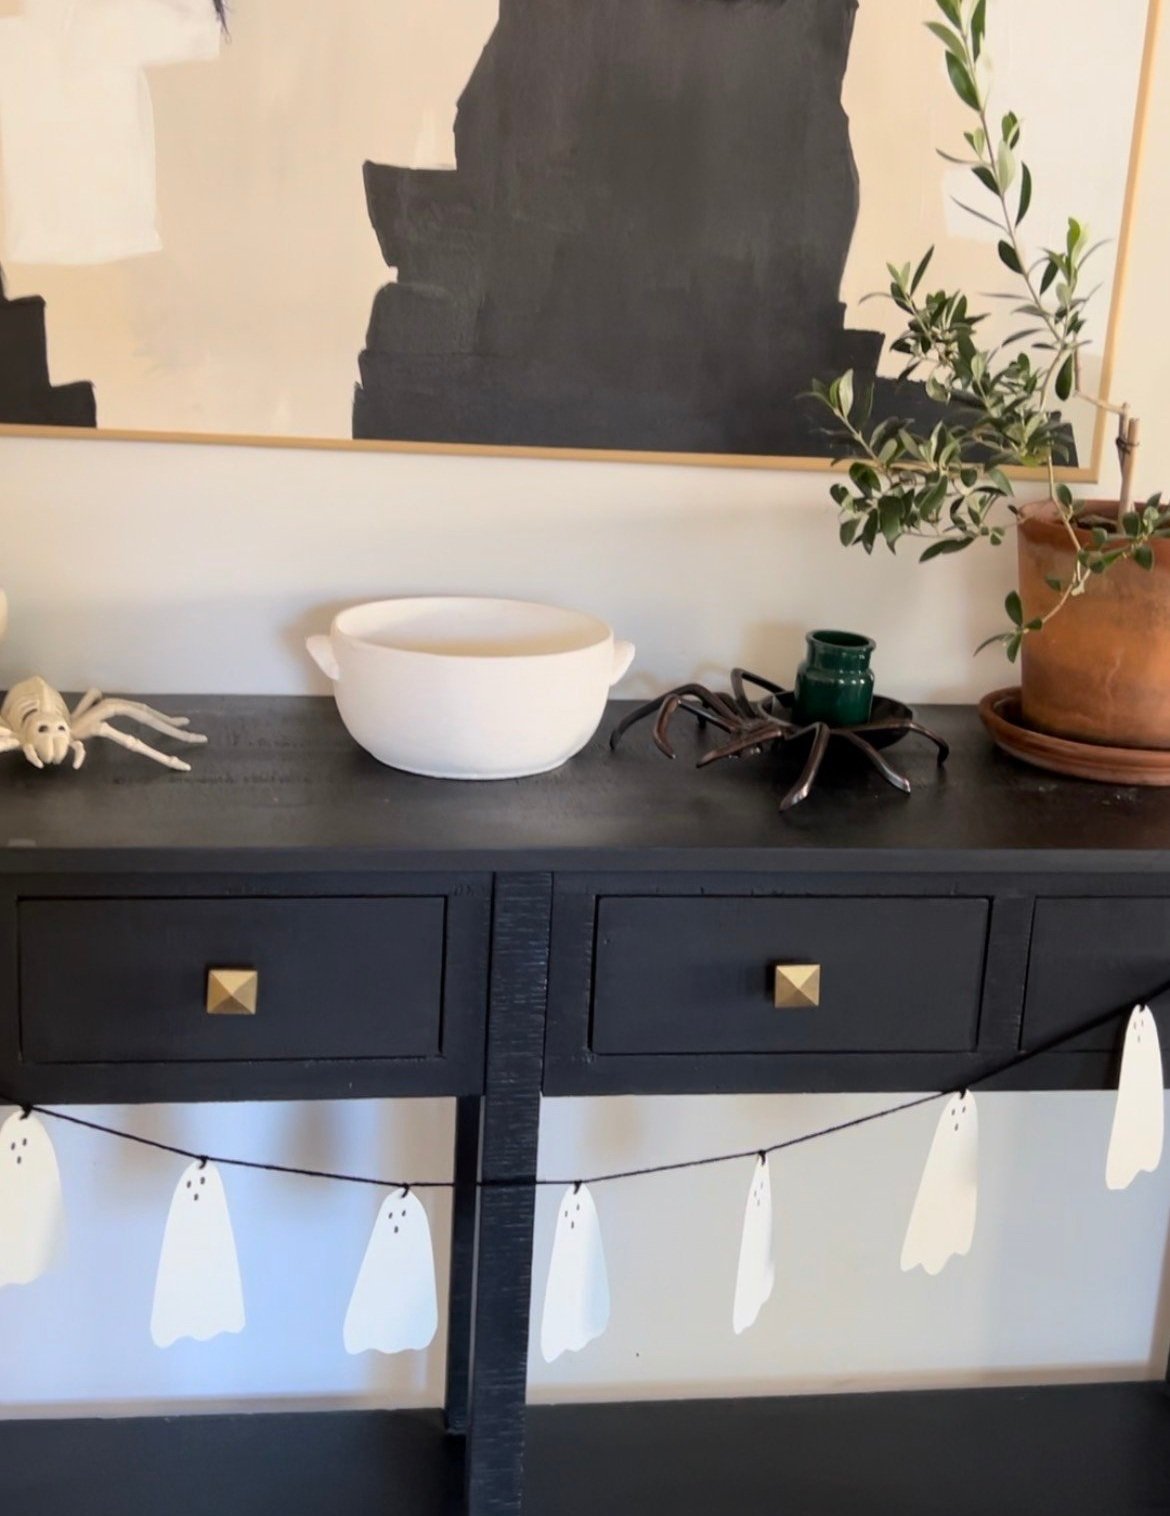
Halloween Ghost Garland - Easy Last-Minute Halloween Crafts
As Halloween approaches and our to-do lists seem to grow longer by the minute, the desire for quick and easy yet delightfully spooky decorations becomes an absolute necessity for busy moms like me. Juggling a busy schedule while trying to create a festive and memorable holiday atmosphere can be a real challenge.
It’s now the weekend before Halloween, and most of our decorations are up but I still wanted to add a few more final touches with last -minute Halloween crafts that are not only a breeze to put together but also make for a fantastic family activity.
I'm excited to share with you two fantastic DIY Halloween Ghost Garland ideas that even the busiest of DIYers can tackle with ease. These projects are not only stress-free but also promise spooky fun if you have little ones in your household. So gather your favorite fall snacks and let’s dive into some last-minute Halloween crafts!
#1 Paper Ghost Garland Inspired by McGee & Co.
I love the look of these McGee & Co. ceramic ghosts. However, it retails for $80…and it’s currently sold out. Plus, this is so last minute even if I wanted to spend a pretty penny on décor, it probably wouldn’t arrive in time anyway! So, with all of these things going against me, I decided to get out some paper and scissors and get to DIYing!
You most likely already have these supplies on hand!
YOU WILL NEED:
Paper
Pencil
Black String - I used black yarn
Scissors
Black Marker
Hole Puncher - I used a nail because I couldn’t find my hole puncher…
INSTRUCTIONS
Take your paper and pencil and start drawing the outline of your ghosts. I made mine about 4 inches tall and made about 5 different versions of the ghost so that the wavy bottom of the ghosts would have some variation.
Go ahead and cut out the first 5 ghosts you made, and use them as a stencil for the rest.
Trace and cut out as many ghosts as you want!
Using your black market, draw eyes and a mouth on each ghost
Poke a hole at the top of each ghost
Take your black string, thread it through the hole of one of the ghosts, and tie a knot. Repeat this step until you have as many ghosts as you want on your garland. Tying a know at each ghost will allow you to keep the spacing the way you want.
That’s it! Now you have made paper ghost garland!
#2 Coffee Filter Ghost Garland
Next up we have, in my opinion, an even easier Ghost Garland DIY! With this DIY you can choose to string your ghosts up as garland or place them around your house as little Halloween decor.
YOU WILL NEED:
White Coffee Filters
String
Black Marker
Hole Puncher - this time a used a chopstick (ha!)…
INSTRUCTIONS
I am telling you, this is SO easy, so have some fun!
Take one of the coffee filters and fold it in half.
At the top center of the coffee filter (the folded side), draw eyes using your black marker. Leave yourself enough room at the top to be able to poke a hole
Now fold the coffee filter the other way, and poke a hole in the top center (of the folder side, right above where you drew the eyes).
Use your finger to form the coffee filter into a ghost shape. Just scrunch the coffee filter around your finger to form the shape you want.
Take your string and put it through the hole you created.
Repeat this with as many ghosts you want on your garland!
All done!
Thanks for reading!


